Capturing the Magic of Nature:
The Art of Golden Hour Landscape Photography
There's something magical about the way nature glows during the golden hour - that fleeting time just before sunset or after sunrise when the light is soft, warm, and imbues everything with a golden hue. For landscape photographers, it's a coveted time to capture stunning images that showcase the beauty of the natural world. However, taking advantage of the golden hour requires a careful balance of technique, timing, and creativity. As a photographer, mastering the art of golden hour landscape photography can take your work to the next level, allowing you to capture breathtaking images that transport your viewers to another world. From the right equipment to the best composition techniques, there's a lot to consider when it comes to capturing the magic of nature during the golden hour. So, let's dive into some of the top tips and tricks to help you master this beautiful form of photography.
When?
When the sun meets the horizon, it’s rays hit earth at a much lower angle. At this low level the atmosphere is thicker, dictating that the light will have to travel through more atmosphere before reaching our eyes. The dust (amongst other particles) in the atmosphere acts as a filter to the light, reducing the brightness, diffusing it and causing it to soften in the process. Cooler colours are scattered, which warms the colour temperature of the light creating the classic orange and red glow. During the middle of the day, for example, when the sun is directly above a subject, it has to travel through the least amount of atmosphere which can create harsh lighting conditions for photography. During golden hour, the light has less contrast and thus balancing the highlights and shadows in your images is a little easier to manage.
Although called golden hour, this is a very loose term and it is totally dependant upon both location and time of year. In reality it is closer to 40 minutes. Golden hour in winter tends to be shorter but the colour is more golden as the sun is at it’s furthest point from earth. Similarly, the further your location from the equator, the longer your golden hour will be.
Where?
There are several ways of finding out the actual time for the location you intend to shoot, from a rudimentary Google search to phone apps like The Photographer's Ephemeris and Photopills. I tend to use Photopills, as it captures a lot of the other things I need to plan a shoot. You can enter a date, look for the golden hour times, the direction of the sunrise and sunset and the position of the sun in the sky throughout the day. You can even save locations with specific dates and times as plans. There is a full tutorial on the Photopills website, which I highly recommend you spend some time acquainting yourself with as the app is invaluable.
Photopills Information screen for sunset and sunrise times, golden and blue hour times and the moon phase. Brilliant to use when choosing your location.
Once you have decided on a location, scout it out, the night before if possible, to see how the light moves through the area. This will help you to find a composition that you like in advance, rather than having to work in a rush in changing light. This isn’t always feasible, but if you have the chance, it can definitely pay dividends when it comes to walking away with an image that you’re proud of.
It’s also important to be aware of the cloud cover. Use the weather forecast to get a rough idea of whether is it worth going. Clouds can both make and break a golden hour image. A partially cloudy sky can help reflect and enhance the deep orange glow of golden hour. Too much cloud though and the sun will be obscured, leaving you with a very flat scene.
I would suggest being in place up to an hour before sunrise and an hour after sunset, depending on the time of year. I have lost count of the number of times that I have arrived late, hurriedly setting up as the perfect shot is rapidly ebbing away, or packing away and leaving only to have to quickly unpack and reassemble everything as the beautiful evening light fades out of reach.
How?
At this time of day, whilst the sun is low in the sky, it is less intense and therefore there are a much greater range of shooting options available without having to worry about blown highlights.
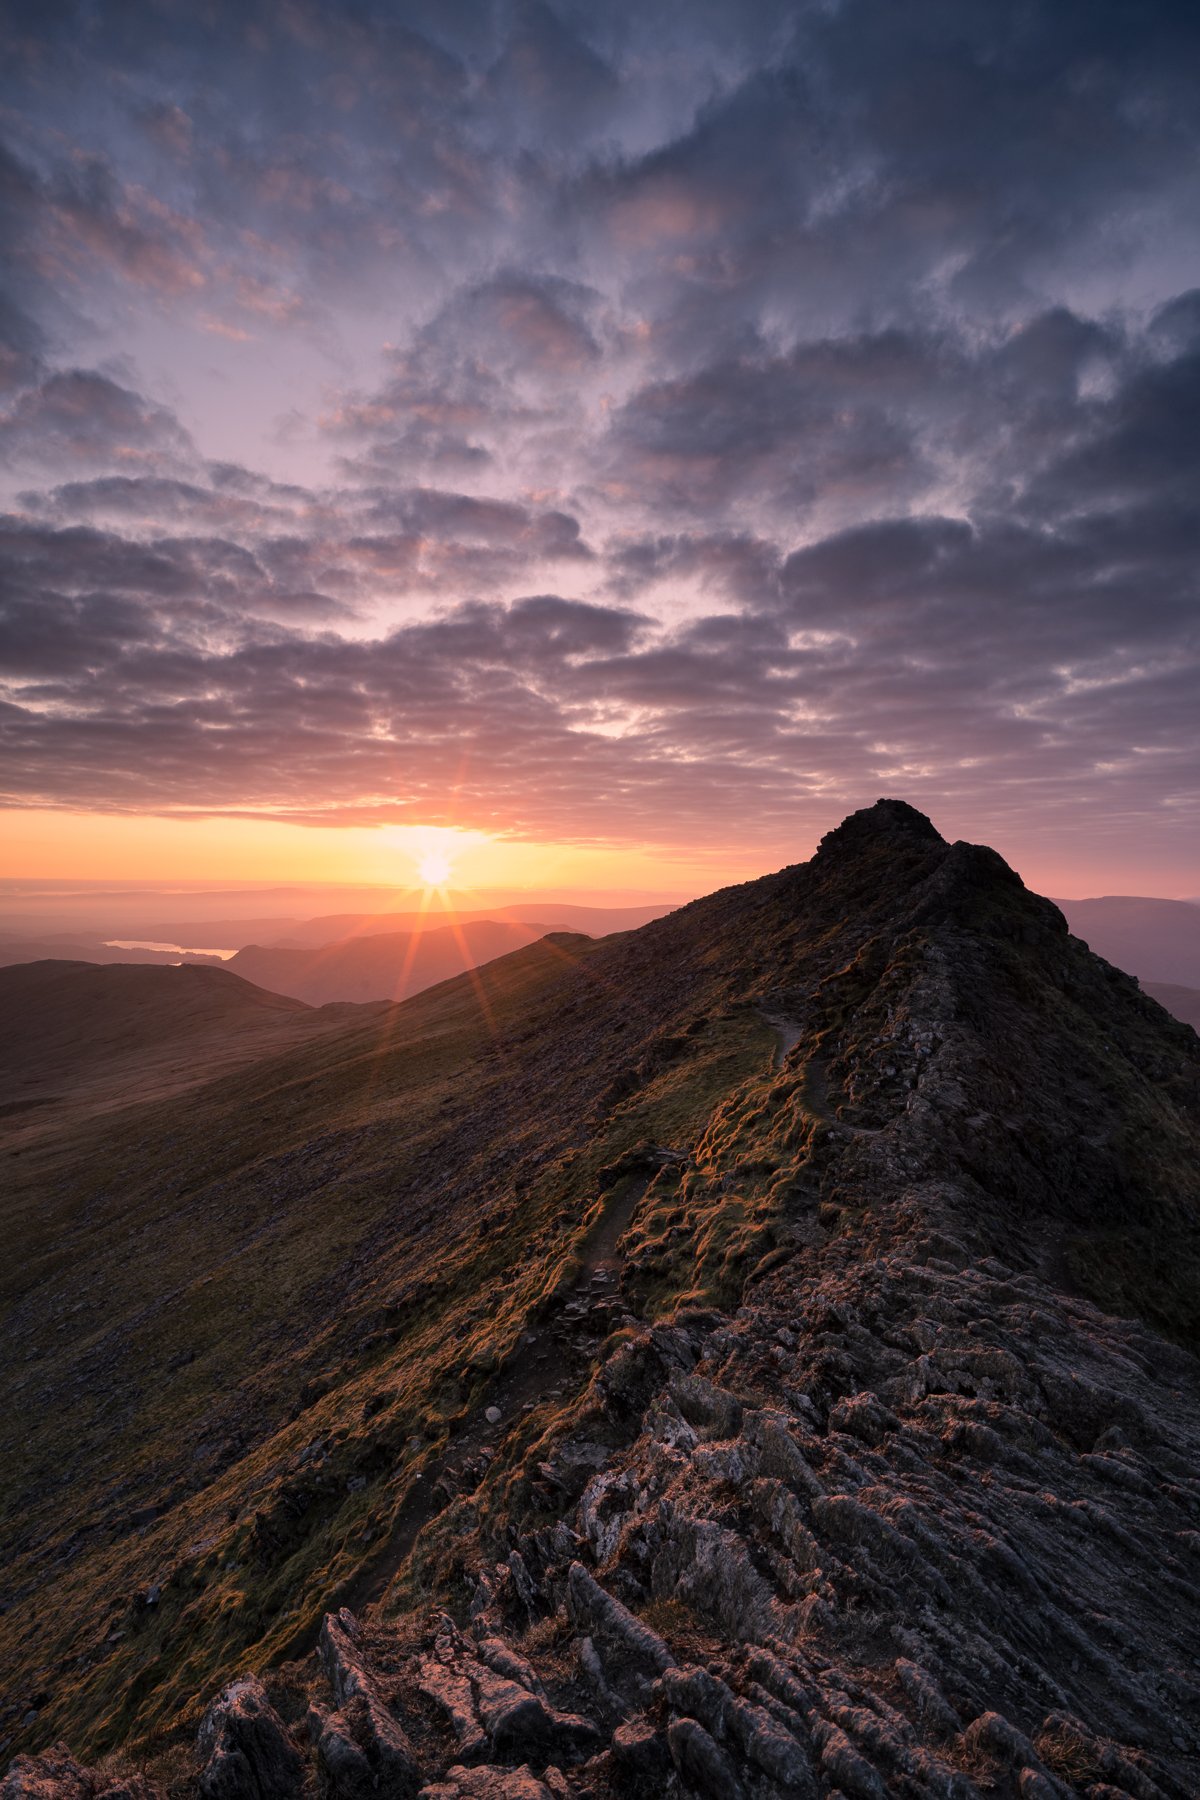
You could consider shooting into the sun and having it as a part of your composition. I particularly like doing this using my Zeiss Loxia 21mm, as I can produce what I think are some really aesthetically pleasing sunstars. You can create a sunstar with pretty much any lens, you may just have to stop it down to f16 or below. Below f16 I find that clarity begins to drop off, so another option is to use a natural obstruction. By placing an object between the lens and the sun and partially obscuring it, you are forcing the light to ‘bend’ around the object and this can render a nice sunstar. Trees, rocks, the horizon in a seascape, and sometimes clouds are all good for this. There are endless possibilities.
A favourite of landscape photographers is to shoot perpendicular to the sun. Having the warming sun hit your image from the side helps to add depth to the image. The light and the long shadows can really add contrast and help to make images pop and take on a much more three dimensional appearance when compared with images taken when the sun is further from the horizon.
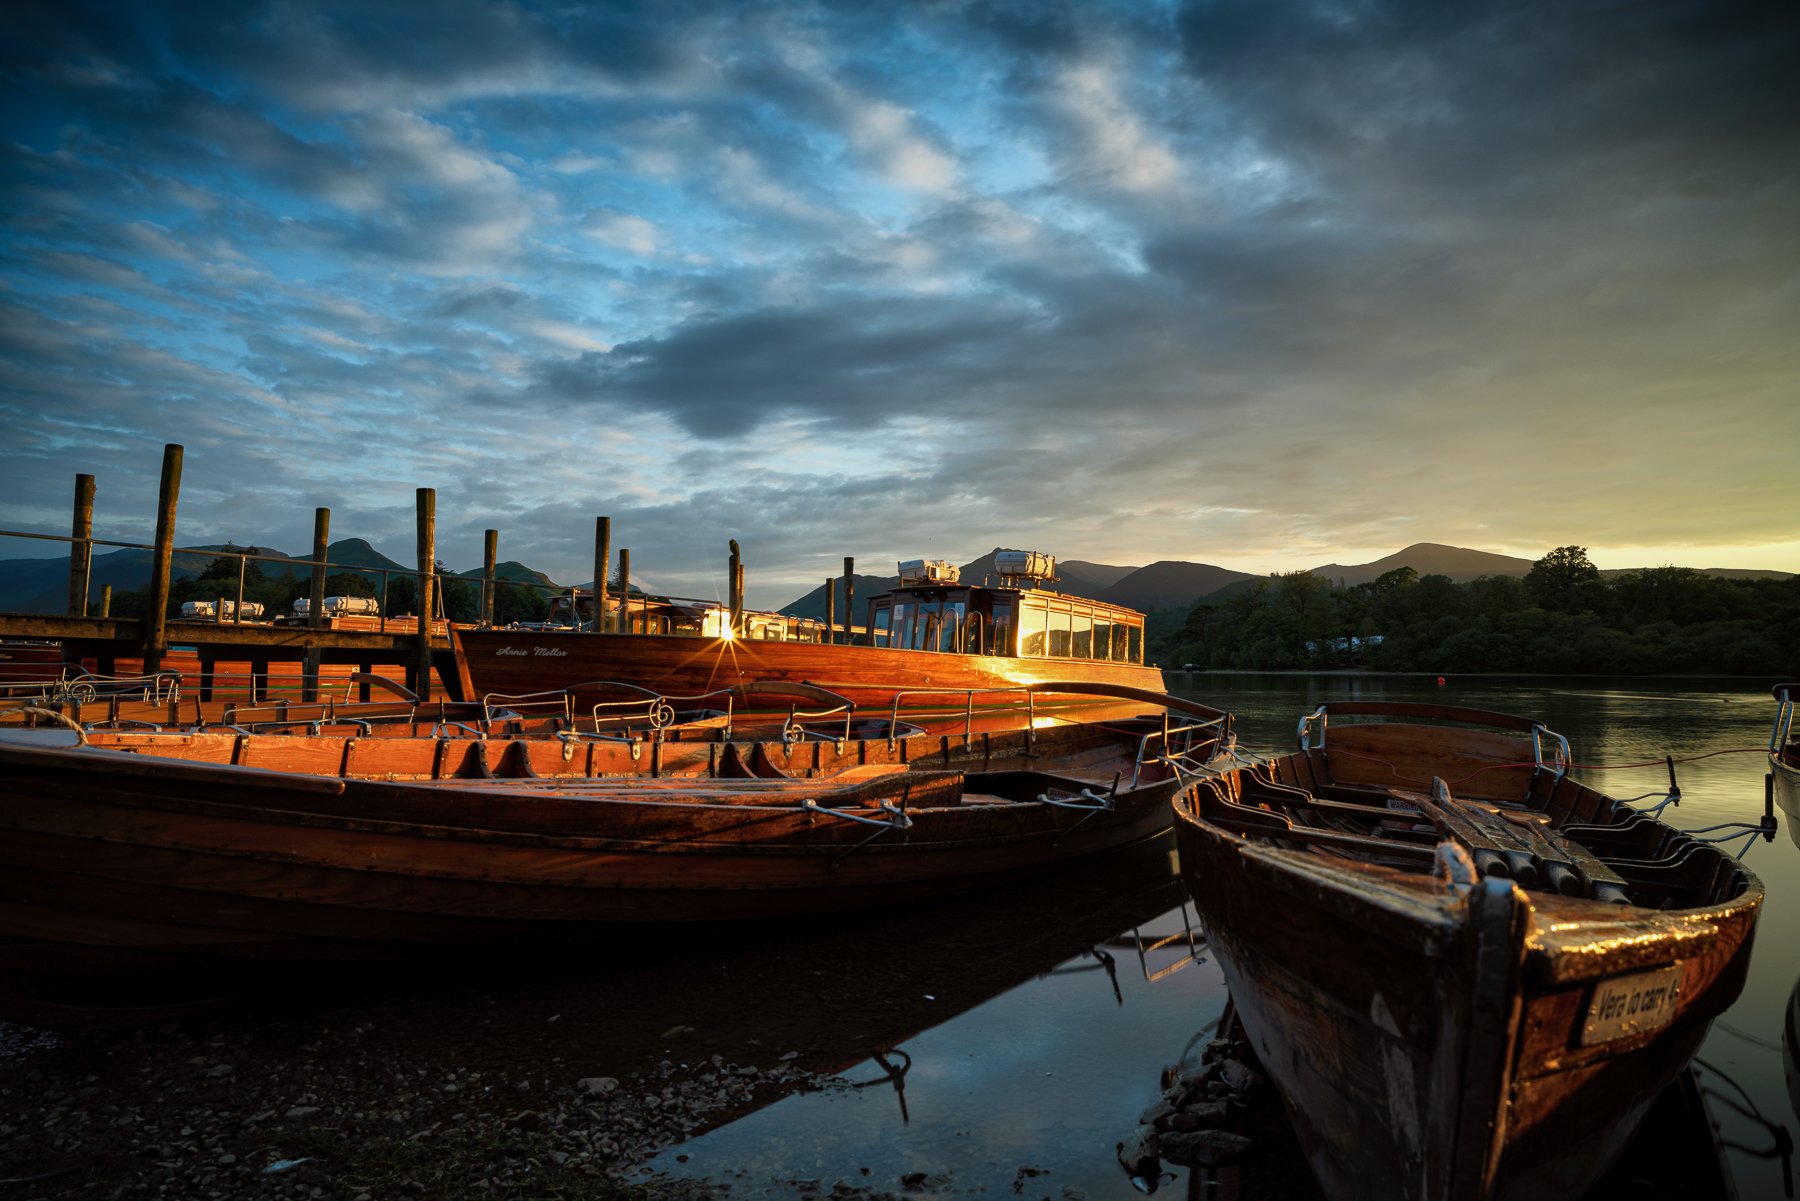
Another idea is to look for reflections. This can either be used to draw focus to a part of your composition or add light to a darker scene. In the image below, I managed to find the sun reflection in the window of one of the lake cruisers and create a sunstar to complement the golden glow on the side of the boat.
Something which takes a little more planning or good fortune, depending on when you intend to shoot, is to include the moon in your composition. Whilst in Peru last summer, I realised that we would be approaching the summit of one of our routes at sunrise and that there was a full moon on the same day. The sun and moon are 180° apart during the full moon, so as the sun rises, the moon is setting. With that in mind, I managed to capture a shot of Huascaran Norte and Sur with the full moon behind them as the first of the sun’s warming light began to illuminate the summits.
Finally, making sure your camera’s white balance is not set to auto but to cloudy will help to catch the true colours of the composition. Now you are ready to shoot. You’ll need to move relatively quickly as the light will change constantly. Bear in mind that whilst shooting in golden hour, you could be using different filters, lenses and tripod positions. These all take time to set up, so try to be as efficient as possible. The one thing that is reasonably guaranteed is that there will be another golden hour, so if you miss your shot for whatever reason, don’t worry. See this as part of the learning process and enjoy being out in what is a very magic hour.
I hope these little tips and ideas help you to make the most of, or to start, your journey into photography at golden hour.
Let me know what you think or indeed how you get on.


